
CA - Asset Creation 1 / 2
All-new for 2021
We wanted to address a common concern among our students about the Systems Studio course, which was that it often felt rushed and packed with too much information. To tackle this issue, the development team decided to split the course into three main components: Asset Creation, Lighting and Look Development, and Technical Direction. By doing so, we were able to double the amount of class time devoted to each area and provide a better balance between instruction and studio time. This change has been well-received by both students and faculty.
In the core course Asset Creation 1, students work with a range of software, including Maya, Substance Painter, Zbrush, and Redshift. Throughout the term, they focus on different modules such as modelling, UV mapping, and texturing. We've also improved the course structure by ensuring that all significant assignments carry over to the other courses (Animation Design, Look Development, Technical Direction, and Animation). This change has helped to provide a more cohesive learning experience and make it easier for students to see the connections between the different components of the program.
Asset Creation 1
W.E.R. Sculpture
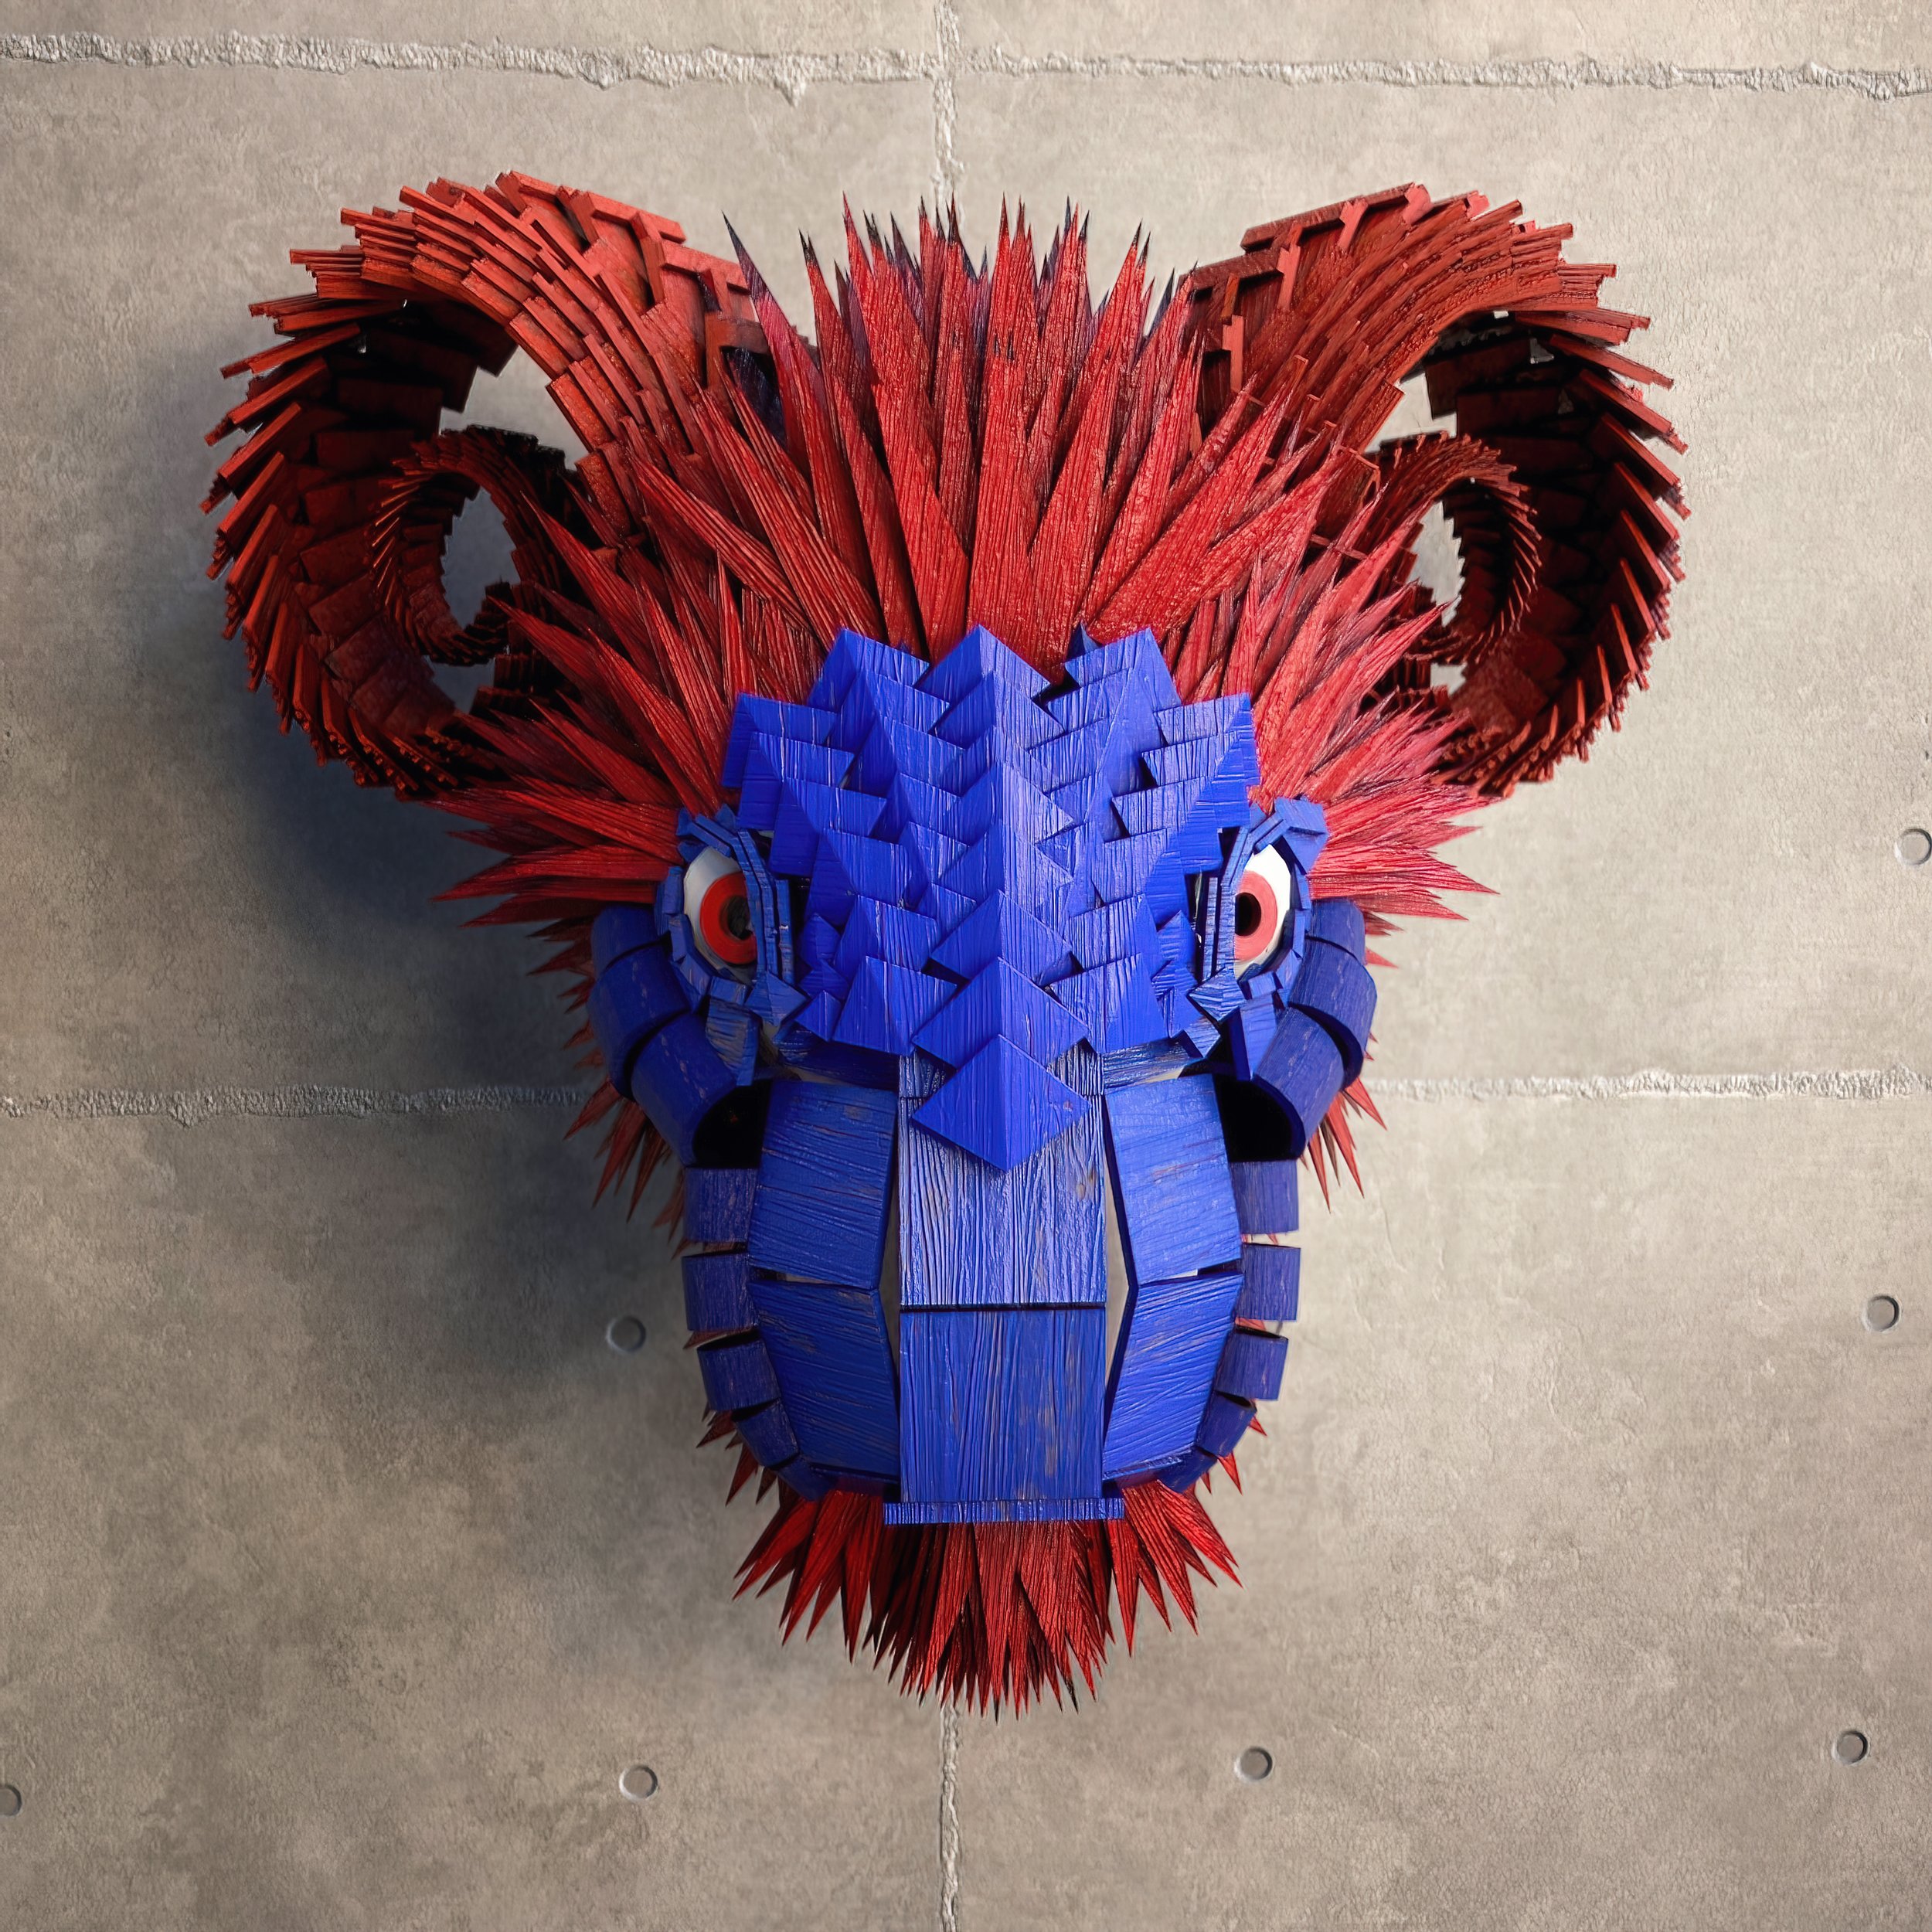
2021-22 This first-day exercise is a carryover from my 2019 school year. This exercise lets students focus on Maya project creation, labelling, scene organization, and duplicating and manipulating objects in 3D space. In future years, I’ll have the students work on a specific theme (like creating an ancient alien mask).
Here are a few of the initial videos from the first week of classes:
Pivot Points: https://youtu.be/XAeFxF1BnJg
Smart Duplicate: https://youtu.be/TpyNvZL1OmA
Duplicate Special: https://youtu.be/yc-sZZi7R3g
Step Snap: https://youtu.be/jIkNhBxJAag
Parent, Unparent, Group: https://youtu.be/jPZ7c9tdl44

I decided to texture and render my WER example to demonstrate that even simple objects can look cool.
2022-23 This year, I’ve chosen the alien mask theme. Students will imagine the history of an alien civilization and develop a mask that their ancient ancestors might have worn. Below are a few more supplementary videos specific to the WER sculpture that document the process
Creating a Maya Project - https://youtu.be/oMFVw3SC8OE
Timelapse of the WER Mask - https://youtu.be/lRjkOhn3of4
Importing an Imageplane - https://youtu.be/p5143ZfcMrs
Timelapse for placing the geometry - https://youtu.be/pTRUe5Qqoko
Organizing and Labelling - https://youtu.be/mAehJJtF7Uc

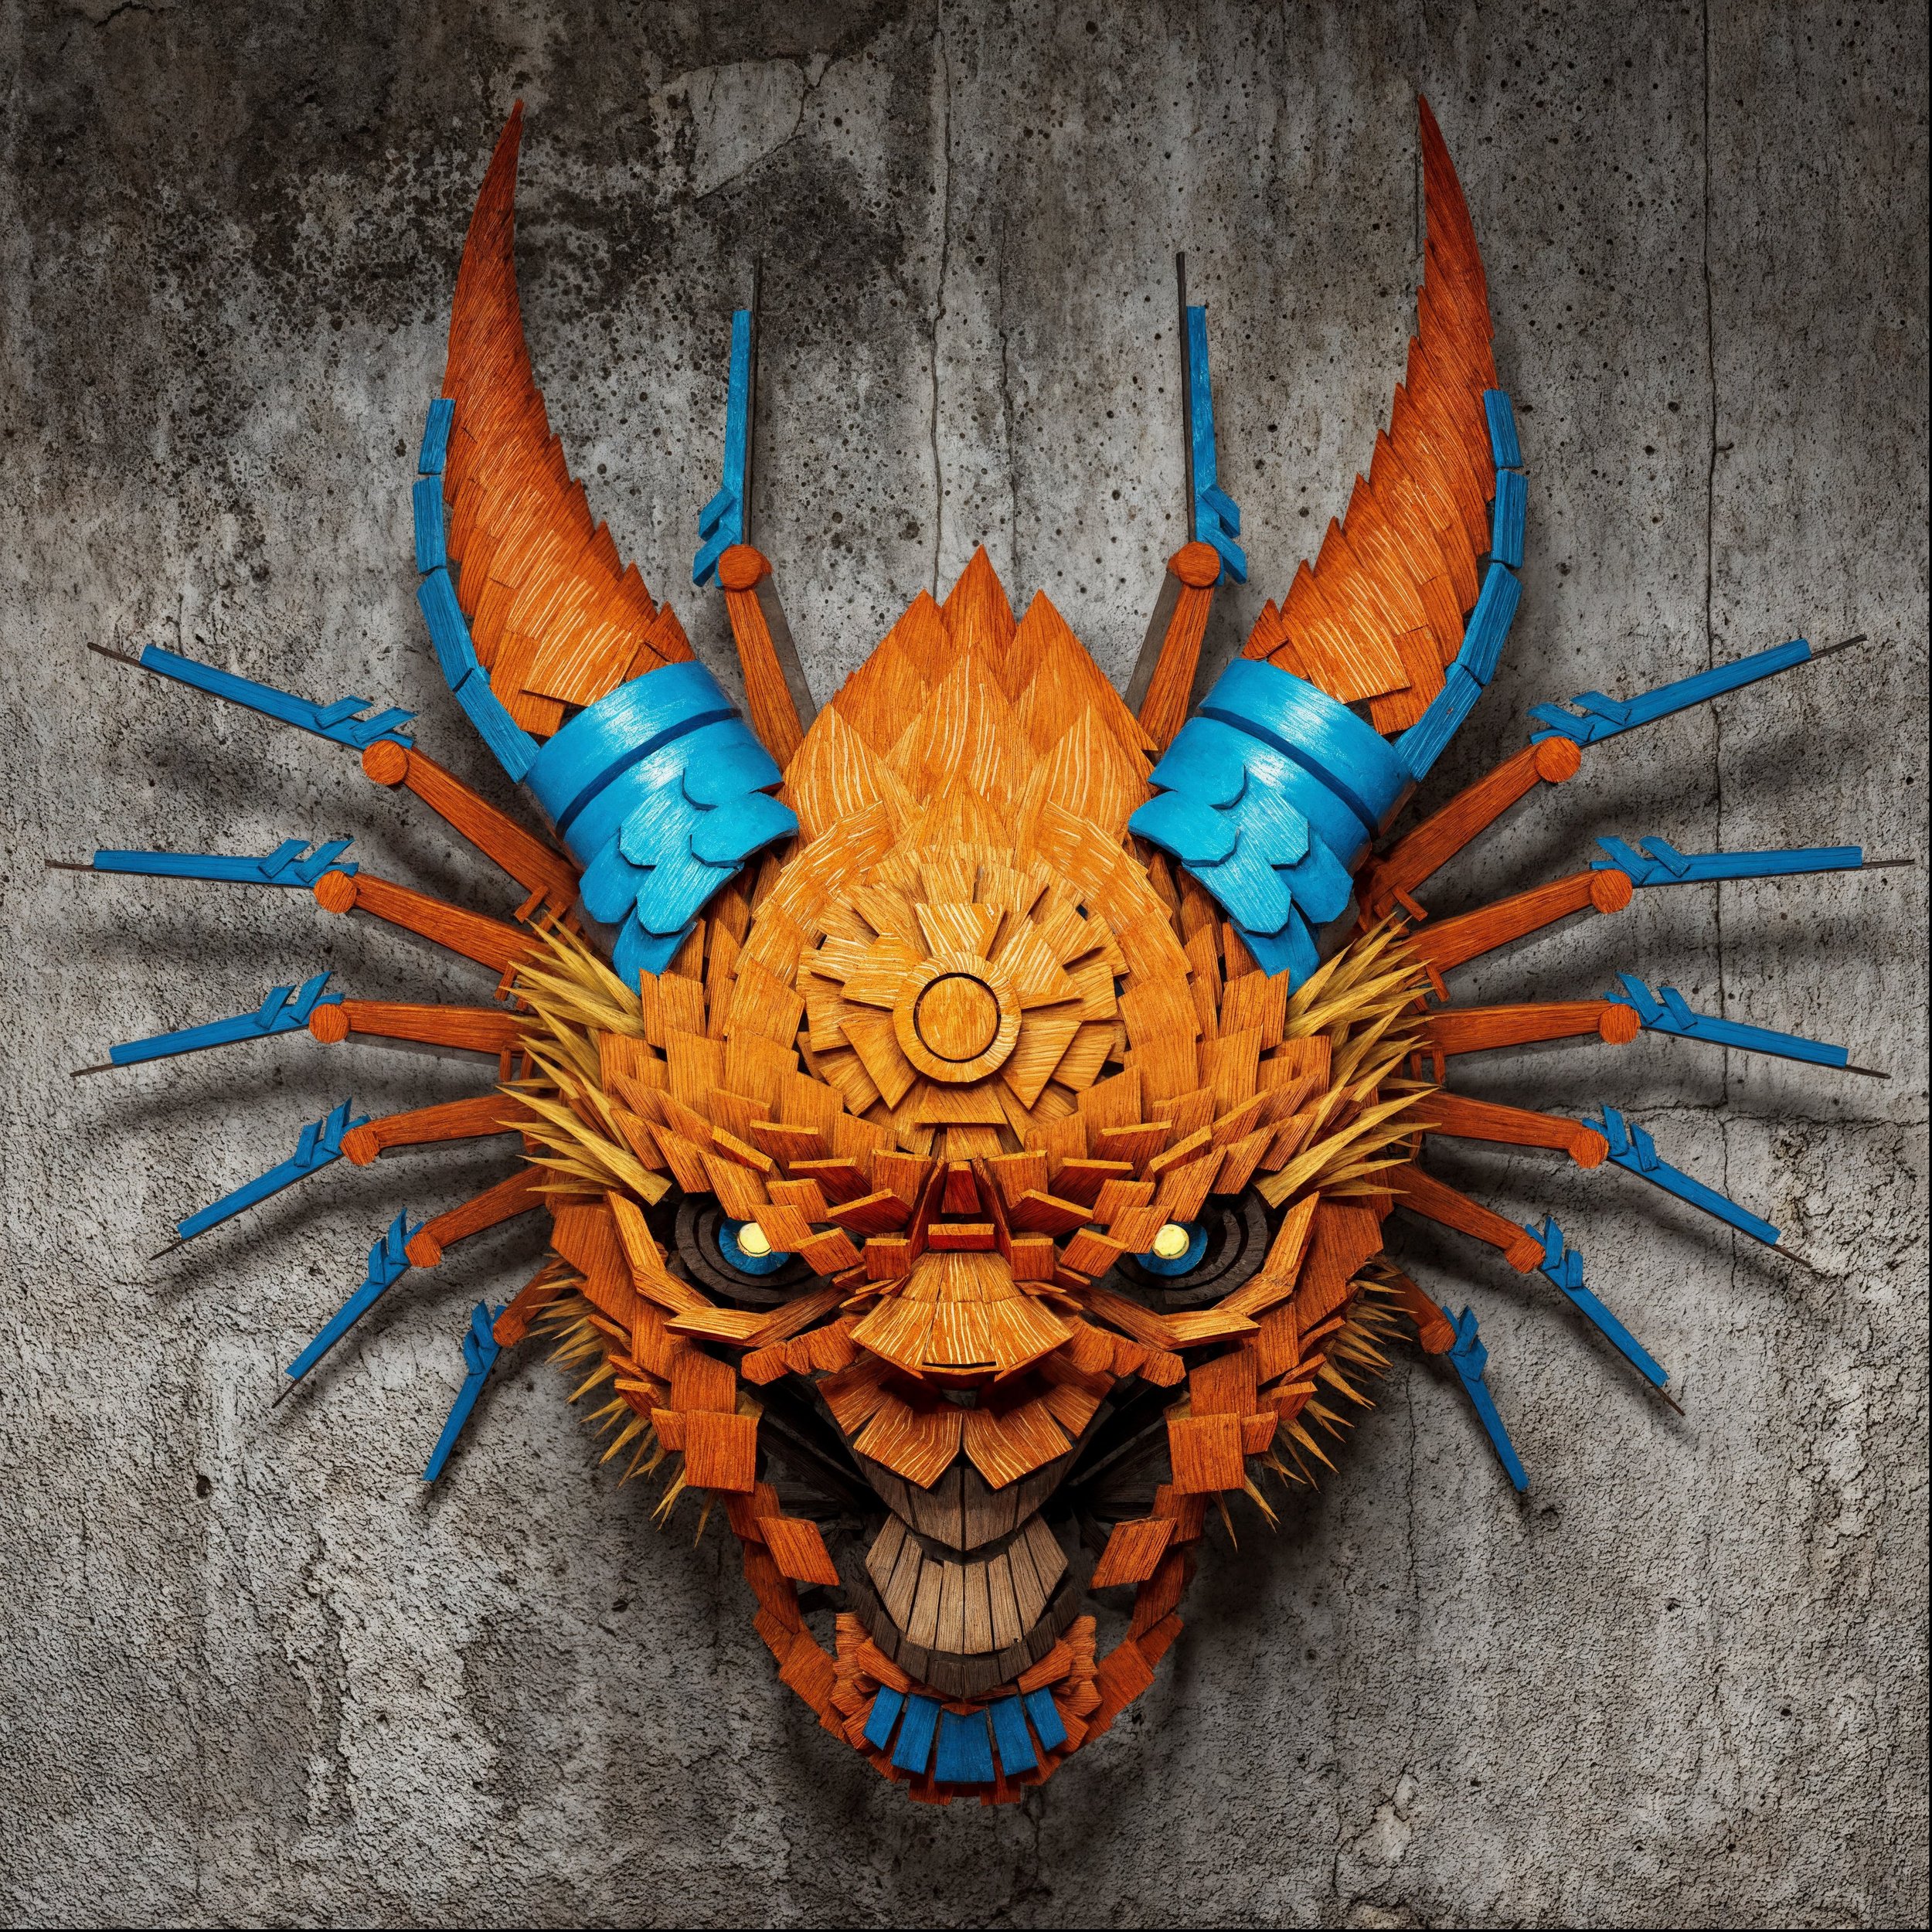
This is the example I created for the 2022-23 groups. I created a video series around the making of this mask to help them through the process.
This mask was created with the 2024-25 class.
Maya Modelling Concepts
They say Maya has the depth of all the adobe packages rolled into one. There are menus in menus and multiple ways to accomplish the same task. It’s essential to take the students through the tools that mimic industry in a way that favours efficiency. After the W.E.R assignment, we modify components (faces, edges, verts, UVs). I look at practical examples but prefer showing how various tools can be leveraged in their unique assignments. One thing I’m beginning to do is create shorter videos that cover a specific topic.

This is the example I created to demonstrate UV mapping.

This is a static image from an approach I developed for creating seaweed.
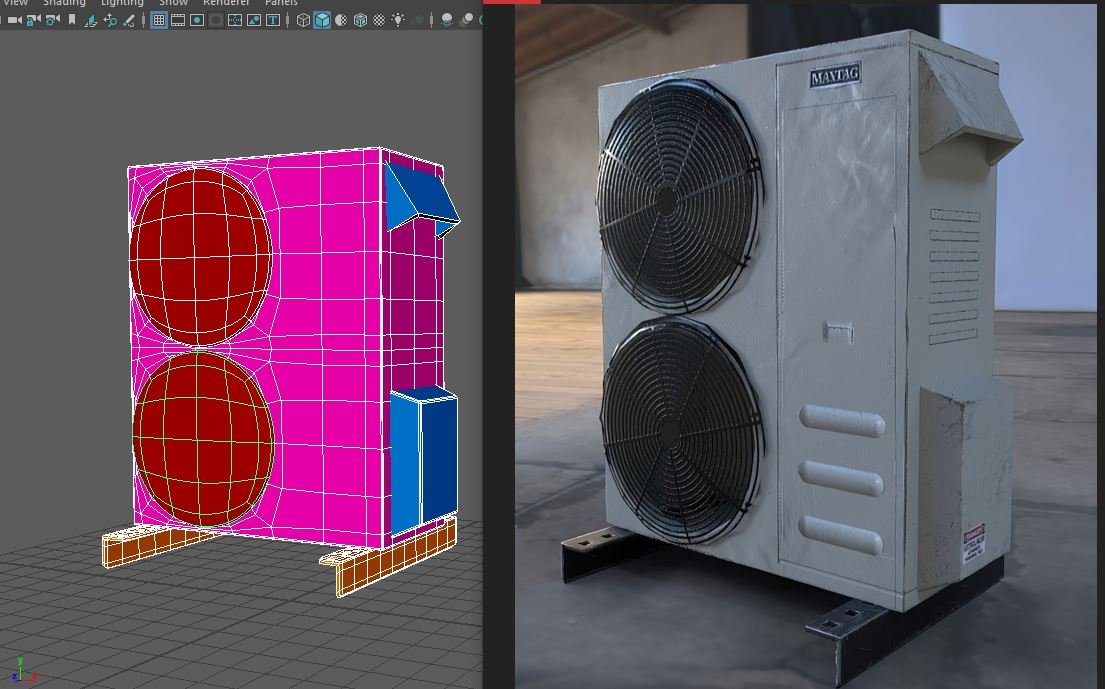
I modelled this to demonstrate how quickly it can be to use simple shapes to create more complicated objects. Each colour represents a different material. This is used to separate the various pieces in Substance Painter.

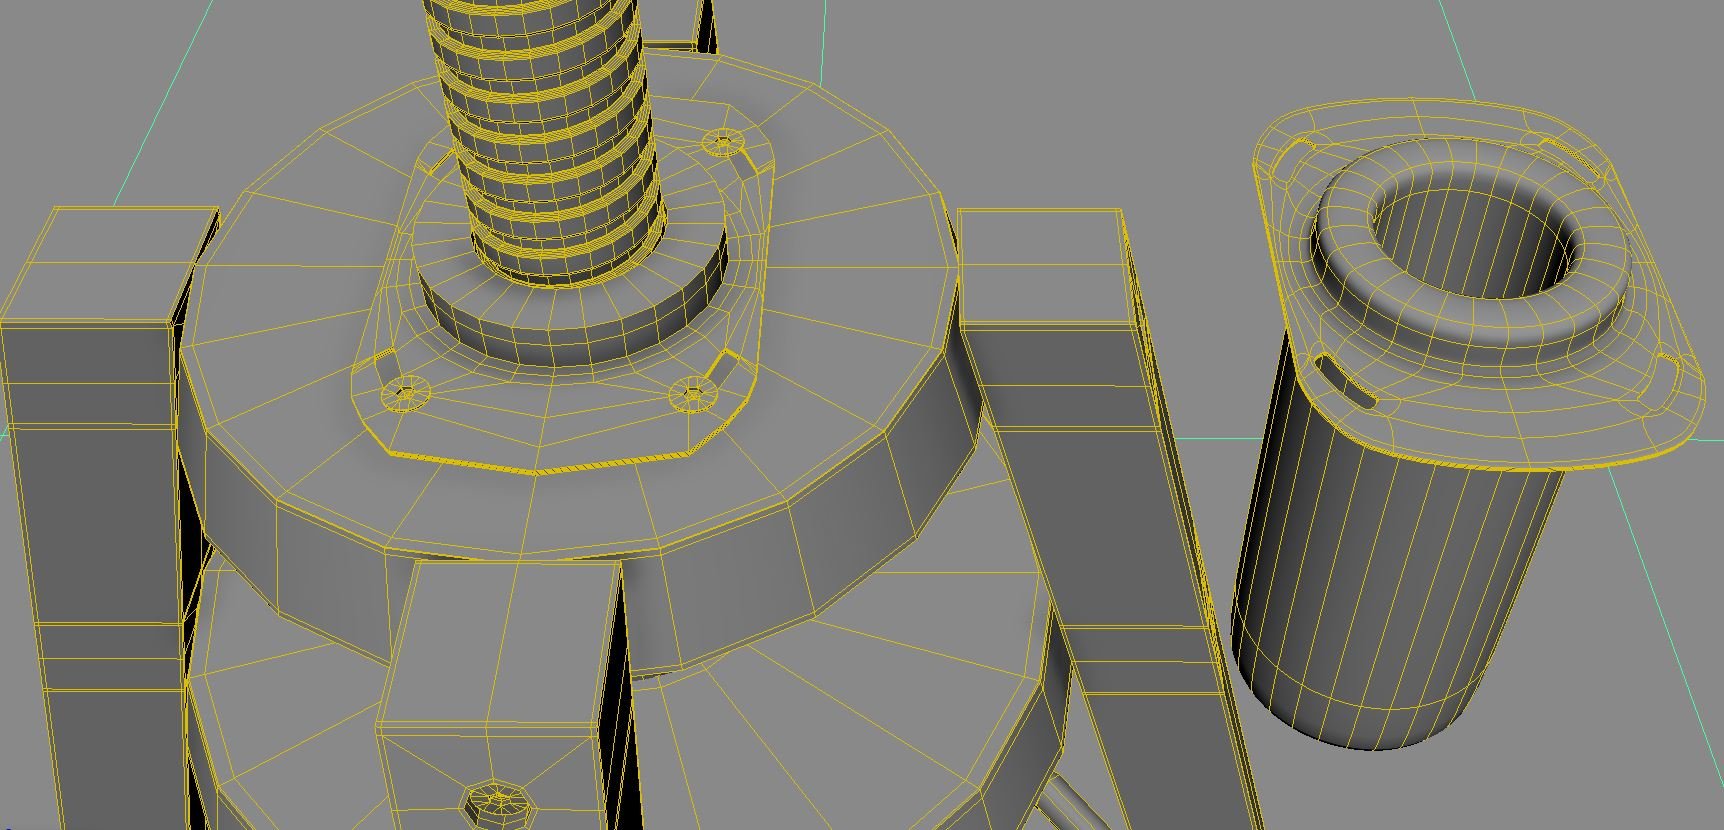
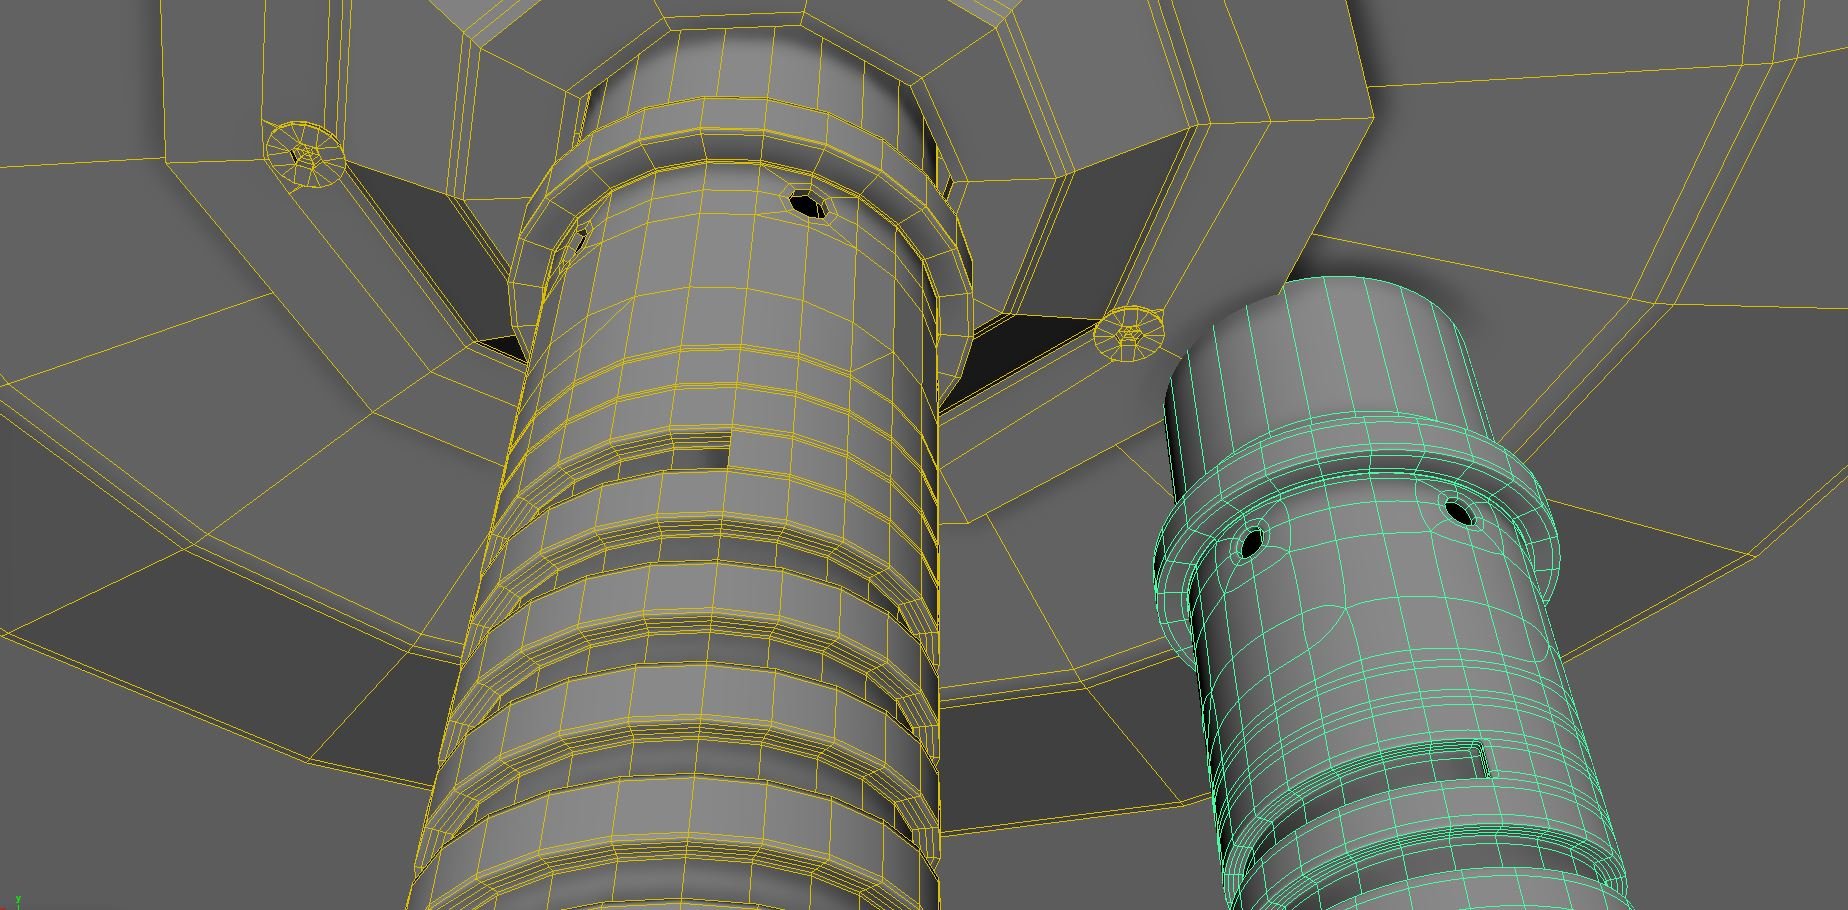
I used this multitool to demonstrate the relatively new way of working using Quad-draw.

This was developed from several questions that came up in class: using texture deformers for water, creating simple trees and grass, adding floating objects to the water…etc.


This image was saved from Substance Painter’s internal renderer. This is a great way to see if the materials will hold up under different lighting scenarios.
Simple Model
This is a new exercise. Students model a simple piece of furniture that was pre-selected from the Ikea catalogue. This year it was the Stool. It was a little challenging, particularly the screw structure of the base (which I ended up making a separate video for to help them through it: https://www.youtube.com/watch?v=q9y26w7CysI ). The objective is to reinforce the poly modelling tools that we discussed in class while at the same time honing observational skills. Replicating parts of an existing object with a level of accuracy is a vital skill for the modeller. The grading of this assignment considers the geometry's quality, proportions, hierarchical organization, and also naming conventions used.

This is the finished example I developed while demonstrating various concepts.

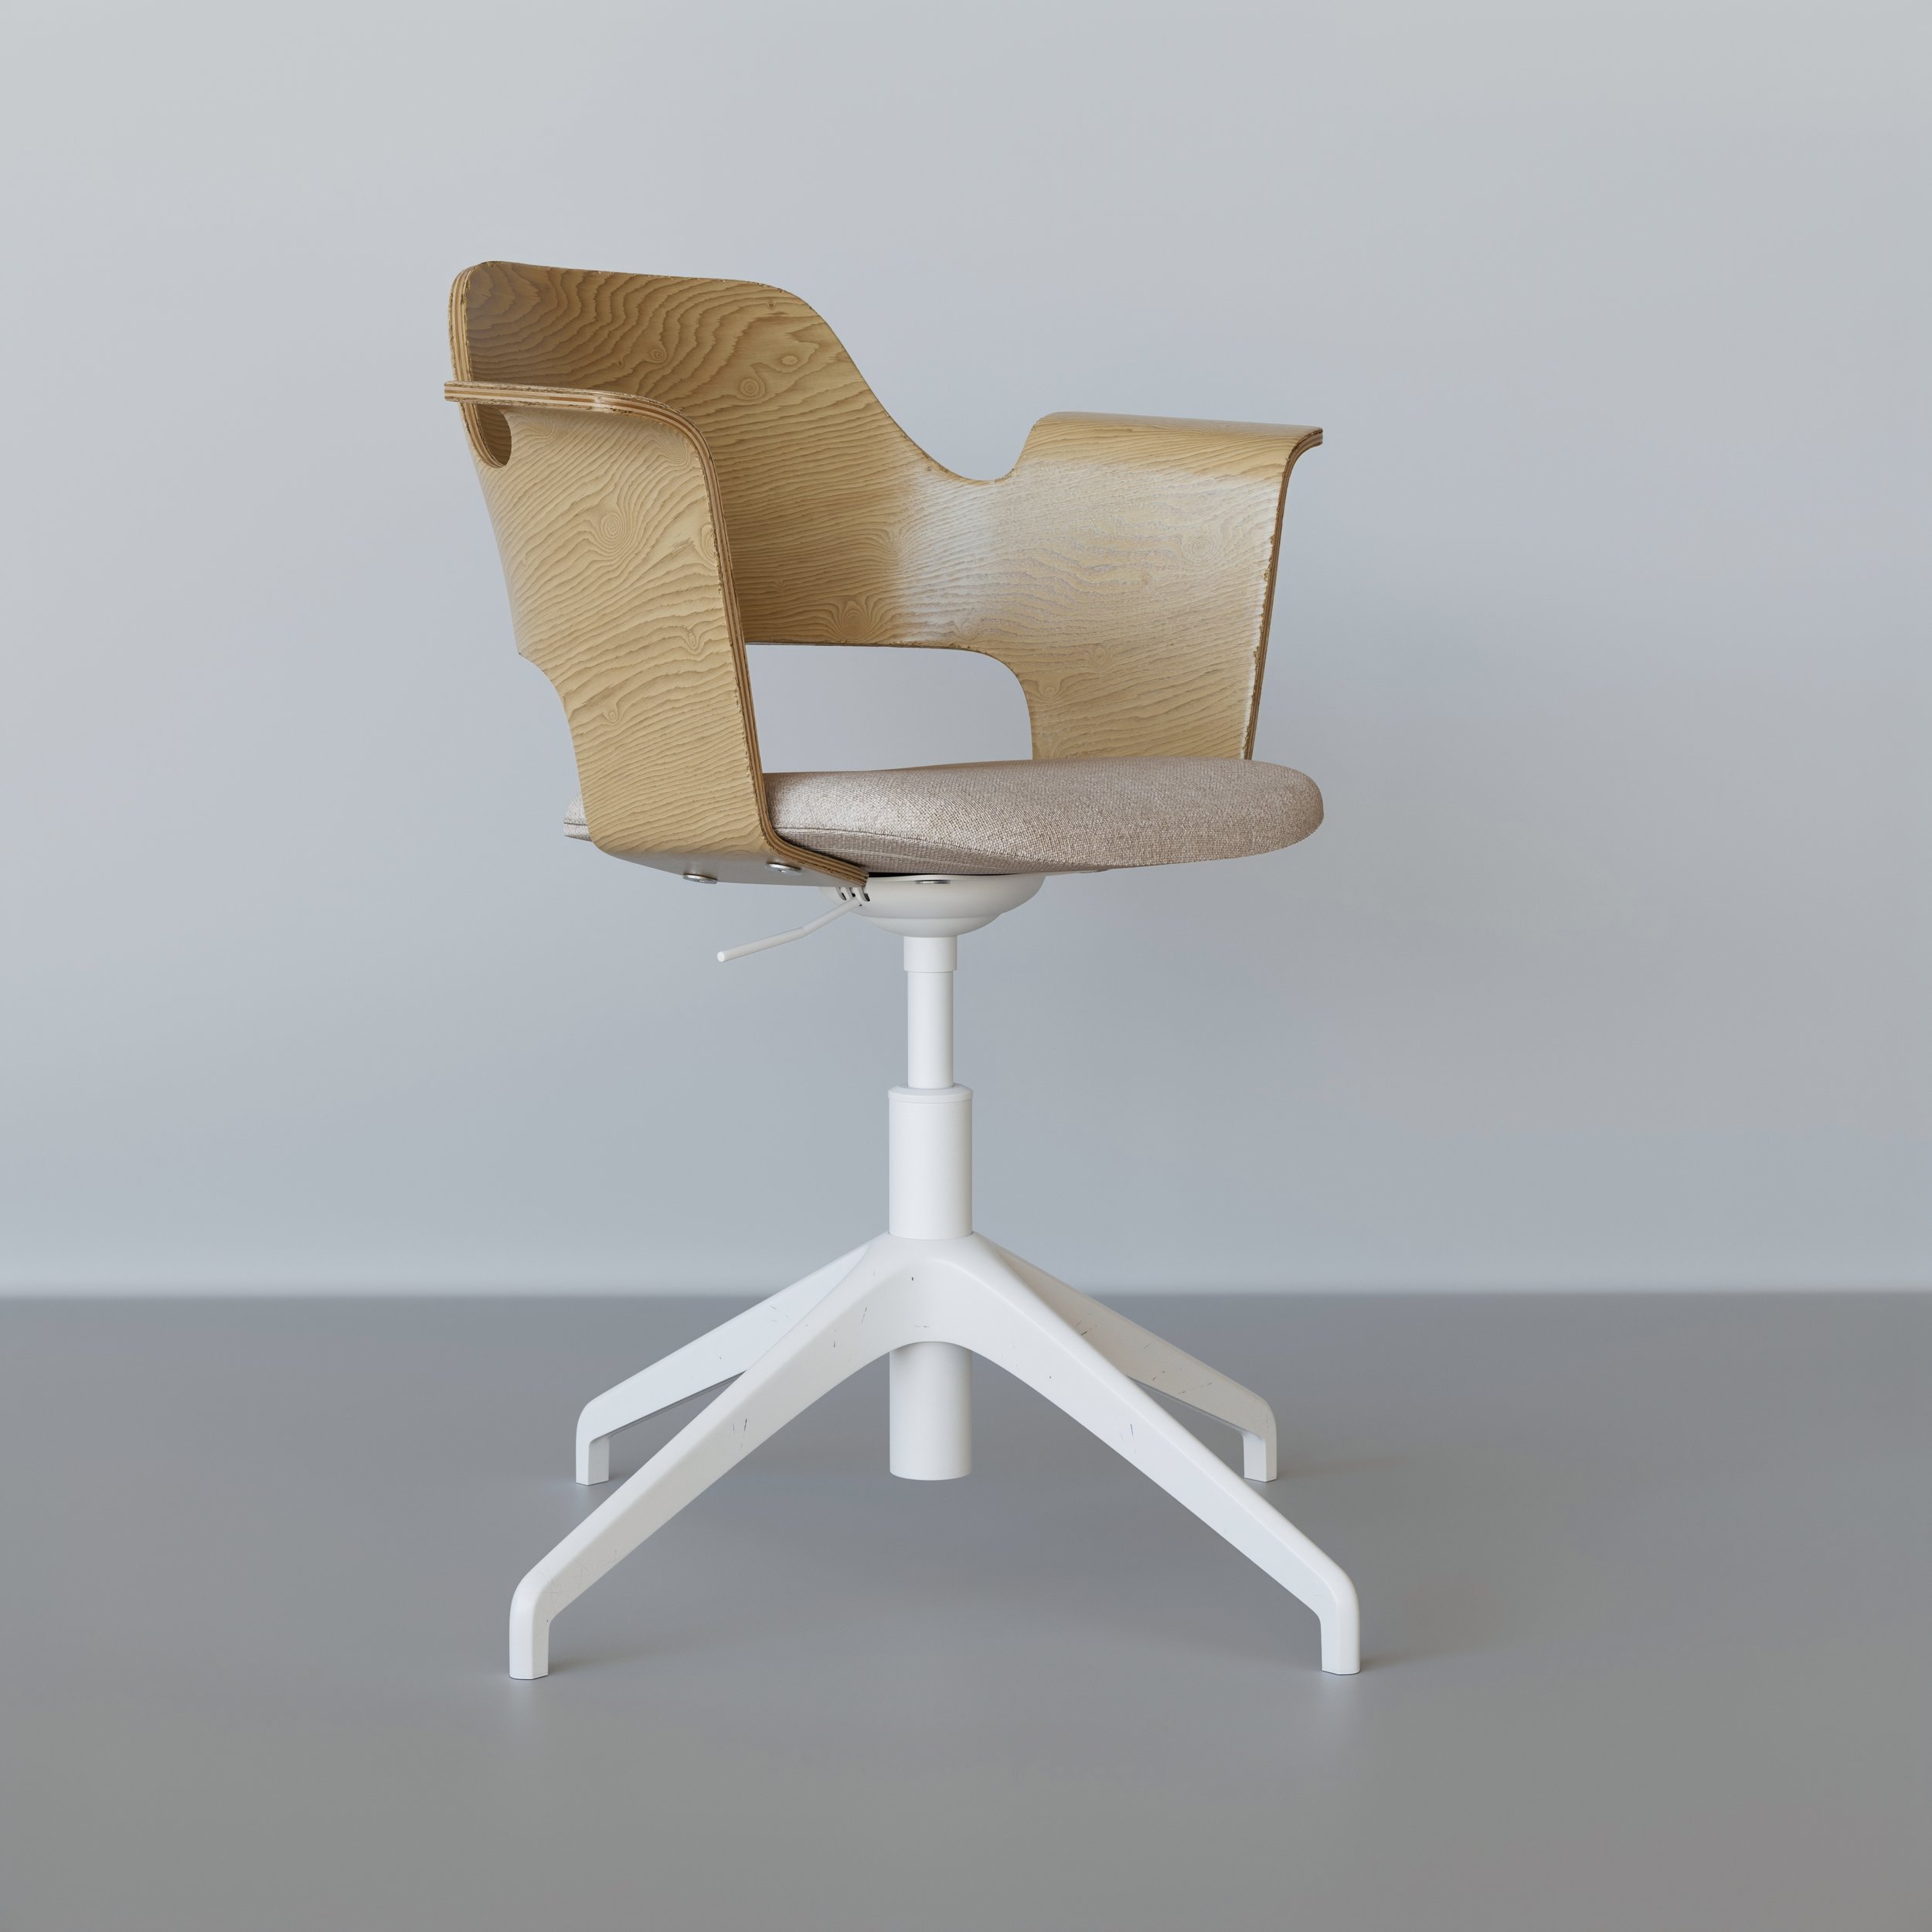
This is the example I created for this year’s group. Students had a choice of one of the following IKEA chairs:
The Fjallberget Conference Chair (https://www.ikea.com/ca/en/p/fjaellberget-conference-chair-white-stained-oak-veneer-gunnared-beige-40406277/ )
The Malskar Swivel Chair (https://www.ikea.com/ca/en/p/eldberget-malskaer-swivel-chair-beige-white-s59444397/#content )
I tried something a little different this time. I recorded the entire progress in digestible chunks from beginning to end. Walking the students through the process thoroughly.
Fixing the image plane: https://youtu.be/HrHnmZwddfQ
Building the plastic base (with quad-draw): https://youtu.be/5fiWJa-16nY
Chair - Finishing the base: https://youtu.be/KbyJ8ZeFY-0
Chair - Seat connection: https://youtu.be/MrnYpWYs63Q
Chair - Adding the Screws: https://youtu.be/cq1poA9P10s
Chair - Finish the metal connector to the seat: https://youtu.be/rybfk5u5ltA
Chair - Starting the seat - https://youtu.be/S_kX6fX6KLk
Chair - The final video (finishing the seat and adding the lever) - https://youtu.be/rAW81DGHL-Q
The other chair was modelled in class. This allowed me to demonstrate additional modelling tools that weren’t used during the Malskar videos.

The Stinger
2021-22 The Stinger is also new this year. It's the first project that carries across all four courses and replaces the traditional bouncing ball assignment. Students look at modelling and texturing the various assets they designed. Next year, I will introduce aspects of Substance Painter a little earlier to let the student embellish their sets even further. I used the set I developed for Animation Design as my example.


The Bumper
The Bumper takes the place of the 10-second interstitial. For this Module, we focus on “old school” character modelling in Maya. Starting from a cube, we use the poly tools learned in previous lessons to create a rigged and animated character. In addition to the last Module, we begin to look at the topology of a bipedal surface. I didn’t have any premade assets or student examples for this one. So… I created a short idea around having a coffee break, starring a stylized version of myself:) This assignment also forayed into Substance Painter, an essential tool for adding detailed textures and a higher degree of materiality that wasn’t easily achievable in the past.


I decided to texture and render my WER example to demonstrate that even simple objects can look cool.
Asset Creation 2
Scene Project
The scene project spans multiple courses, in Asset 2 I focus on Zbrush. I created a simple low-resolution mesh that students take into ZBrush and begin to learn this amazing sculpting package. The characters they build will then be rigged and animated as part of a larger group mosaic (this past year was a music video). Below are some examples I created with the class to demonstrate the ZBrush workflow and the flexibility to create anything from a simple starting point. This assignment also introduces the Unreal Engine. Students will bring their final animation into the game engine to compose their shots, light, and export their final animation.
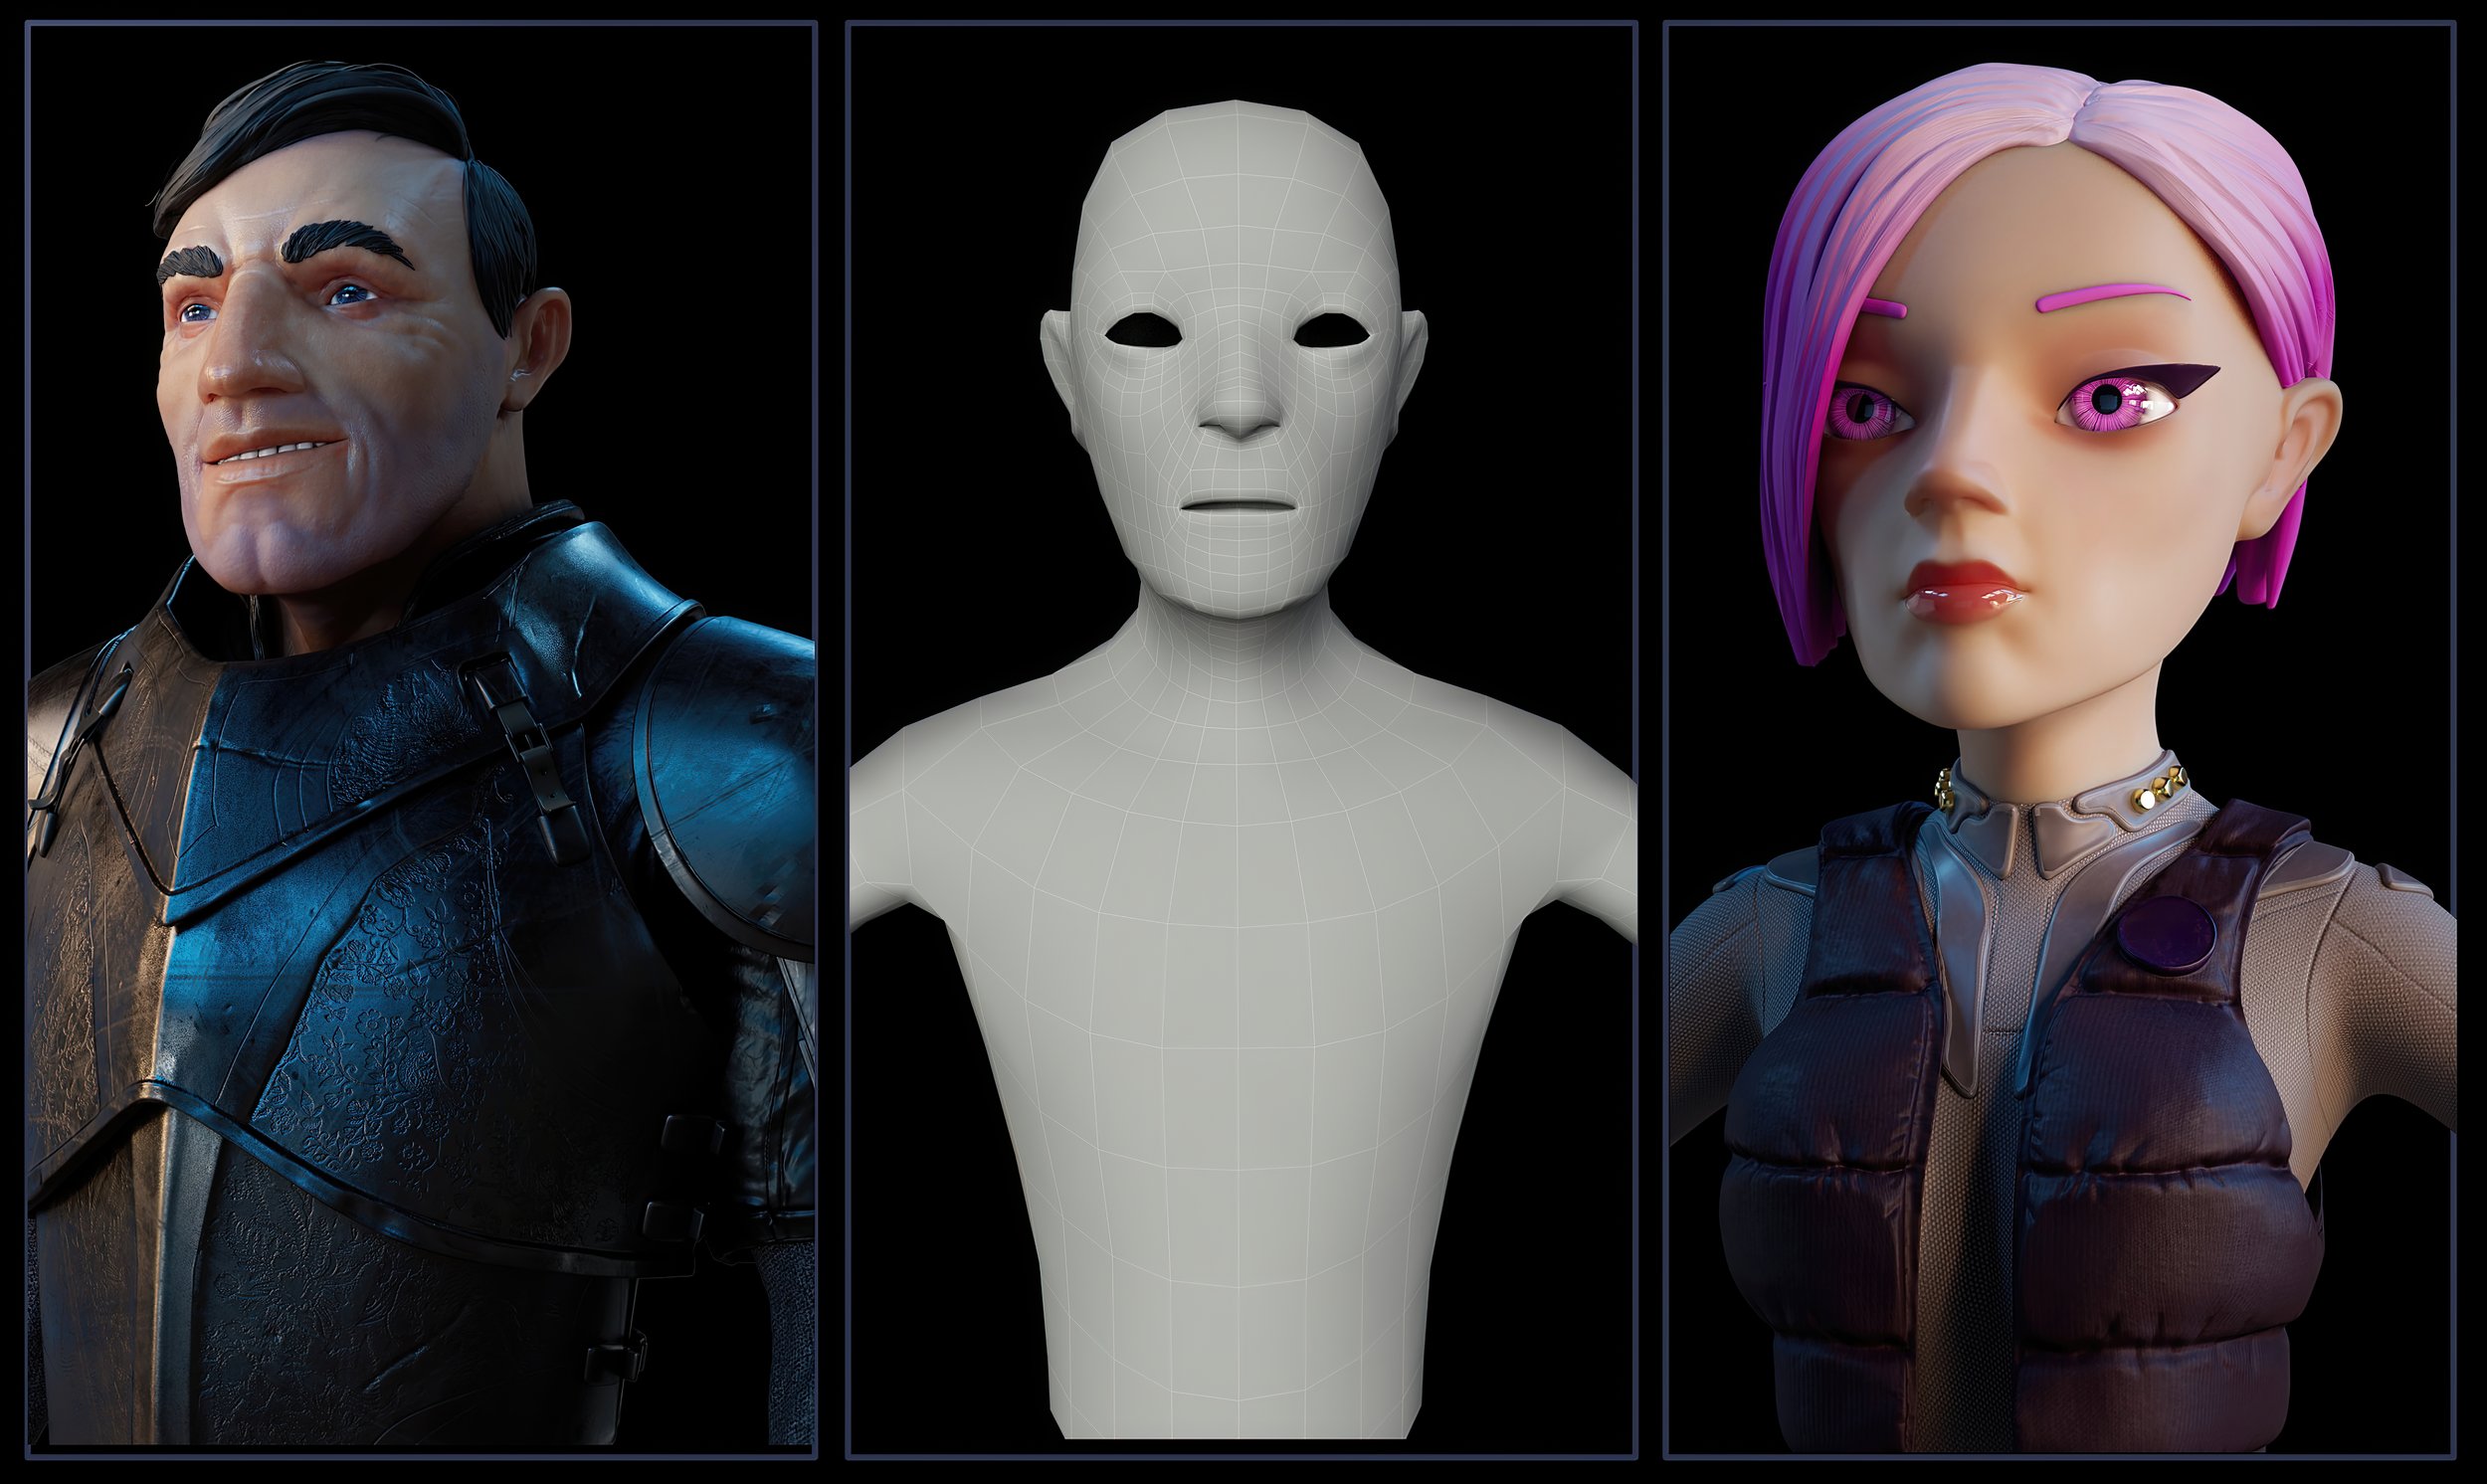
I created the middle character as a starting point for all of the students. The left and right characters are examples I created in class to demonstrate Zbrush (2022).

This is the example I developed for the 2022-23 class from the new and improved base mesh that I developed.


This is a more detailed sculpt I began working on to see how far the base mesh can be pushed. I'm using this model to test some new techniques such as Geometry HD, where you can theoretically get up to 1 billion polygons. This model is closer to 100 million.

The scene project has since been phased out of the Asset 2 class. The turnaround was just too much for the students who ended up working into their winter reading week, leaving them tired when they came back. Which was not ideal, given that they had the week-long Animation Jam on their return. Below are a few examples of what they were able to do in such a short period of time (3 Weeks).

Cute Creature
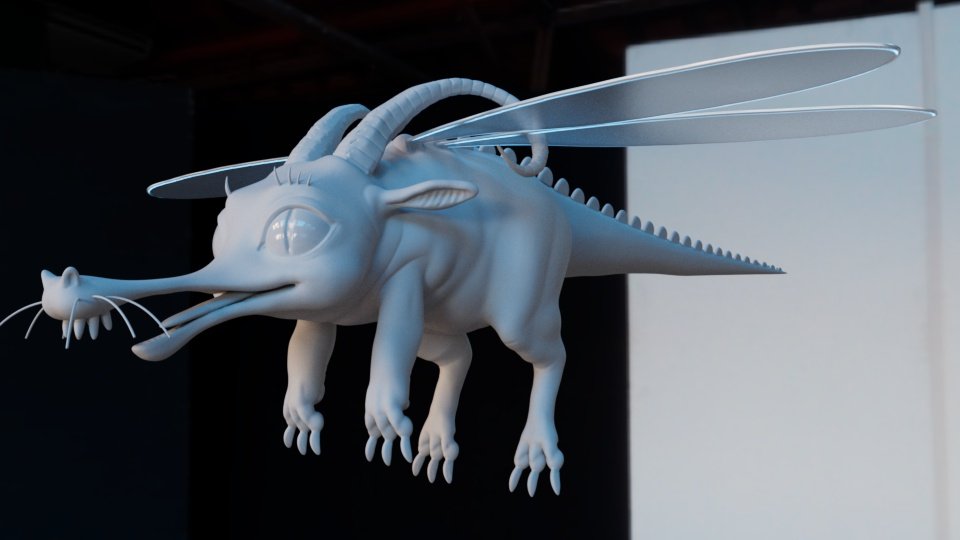
This is another new assignment for this year, and I think one of my favourites. Students get to develop their very own adorable creature and associated prop. The Scene Project is an excellent intro to Zbrush, the Cute Creature assignment begins to show the true power of Zbrush. This series of in-class assignments dives into unique ways Zbrush can create models from scratch. We look at tools such as Dynamesh, Sculptris Pro, the Extractor Brushes, VDMs, Zmodeller, and Live Boolean. We also discuss proper ways to retopologize the models using Zremesher and Maya’s Quaddraw. I created this little guy as an example. She’s a Dragon Fly who zips around, pollinating the flowers with her pollen cannon.
Unfortunately, we collectively decided to abandon this assignment moving forward. This will give the students more time to polish their Scene Project characters and get a jump start on modelling elements for their capstone project.


This is the original concept I developed for this section.
This initial sculpt I did in class

I used a bunch of the Zbrush tools to build the pollen cannon (Zmodeller, Live Boolean, Spotlight). And Substance Painter was used to add in the texture details (including the lighter pink dust layer that would build up from the pollen).

My initial coloring and roughness maps were done in Zbrush. I used a combo of vector displacement maps and the extractor brush for the surface. I ended up saving out a material ID texture from Zbrush and did another Roughness/Metallic pass in Substance.